Save Yourself Time, Money, and Frustration with These Solutions
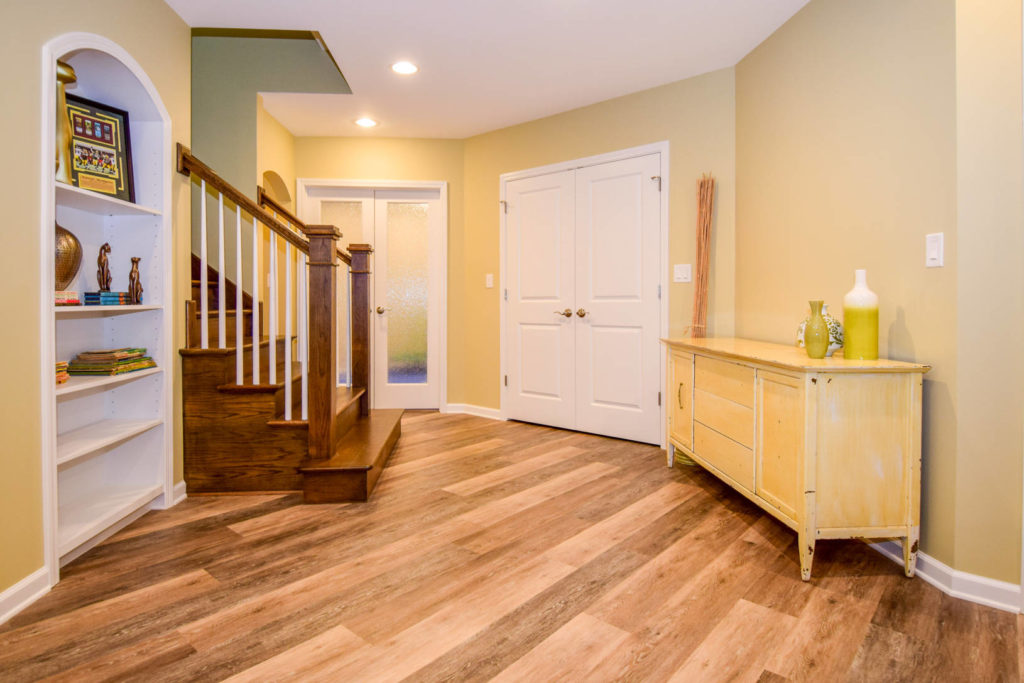
We want every paint job to look perfect and often try to coordinate the colors we choose for walls, trim, built-ins, and more.
Unfortunately, rushing through the process, working with bad materials, or falling victim to common errors/mistakes can be detrimental and downright frustrating when you have to deal with the aftermath.
The renovation and design experts at Reliable Home Improvement have compiled a list of common painting mistakes that almost everyone makes and provide guidance on how to avoid those issues.
A few corrections can improve your painting habits so that every room you touch has a professional presentation.
Mistake #1: Choosing Low-Quality Materials and Not Testing Your Color
Paint can be expensive but when it comes to applications and the tools you use to apply them, you get what you pay for. To avoid the expense, do-it-yourself (DIY) painters often choose low quality materials like cheap paint, brushes and masking tape.
The paint color you choose will also make a difference when it comes to quality. A common mistake is selecting paint from a card at the store and proceeding with your project.
Solution: Paintbrushes, rollers, tape, trays, and other supplies should be durable. Select items from trusted manufacturers and avoid poorly constructed materials.
When you select a certain color of paint, tape the card to your wall and take time to see if it is what you imagined. Then, ask for a small paint sample, apply it and let it dry. Not what you thought it would be? Repeat the process with another color.
Always test your paint color to get the perfect hue.
Mistake #2: Forgetting Protection
Some of the worst mistakes come before you even open the paint can. Paint will stick and it can be a major hassle if it ends up in the wrong place. Many people forget to lay a drop cloth or floor covers and don’t move furniture before starting. Accidents can also happen when you leave the cover off the can or allow debris to get into your paint can, which can ruin the color.
Solution: Circumstances always vary, but taking every precaution you can is a general rule of thumb to follow when it comes to painting. Clean up as you go and remove as many hazards as possible.
Mistake #3: Painting Without Tape
The ambitious home painter may believe they can apply paint without taping around trim, doors, fixtures, etc. but it is never the right choice.
Solution: Always apply painter’s tape (not masking tape), even for small projects. It elevates your craftsmanship, allowing for clean lines that don’t bleed into other areas.
Forgoing tape isn’t the only preparation mistake many people make. For the best results, always clean scuffs or marks from walls, patch and sand any holes or cracks and remove nails or other affixing elements from walls.
Mistake #4: Improperly Preparing Walls for New Paint
Your wall is your canvas and if it hasn’t been painted before, you will need to make sure it is properly set to receive paint. For example, amateur painters often forget to apply a coat or primer or even if their wall has been painted, they will use paint that doesn’t have a primer mix.
Other common mistakes include painting over wallpaper with water-based paint or primer and forgetting to sand or “de-gloss” gloss paints before applying your new color.
Solution: Walls are made of a variety of materials, like drywall, plasterboard, concrete, and wood. Your first step is determining what type of paint and agents you will need to best apply the product(s) to your wall material. Then, make sure the wall has been primed and apply a coat or use a paint and prime mix, depending on the situation.
If you plan to paint over wallpaper, choose a color that will cover the design or colors and always use oil-based primer and paint. For projects that require you to cover a gloss paint, sand the gloss or use a de-glossing agent and clean the wall of any dust or debris before applying your new color.
Mistake #5: Using Improper Painting Techniques
Too many times, DIY painters don’t take the time to follow painting basics.
Solution: Know how to correctly paint your space by following a few basic tips:
- Don’t dunk your paint brush or roller. Dip it a third of the way into your tray.
- Paint from the ceiling down and start at the perimeter.
- Roll paint in three-to-four-foot sections and don’t paint in only one direction; use the “W” pattern.
- Apply multiple coats of paint, if necessary, but always follow suggested drying times before the next one (usually around 24 hours).
Beautiful painting technique can be achieved by following the guidelines above.
Your Professional Home Improvement Company for Painting and Renovation
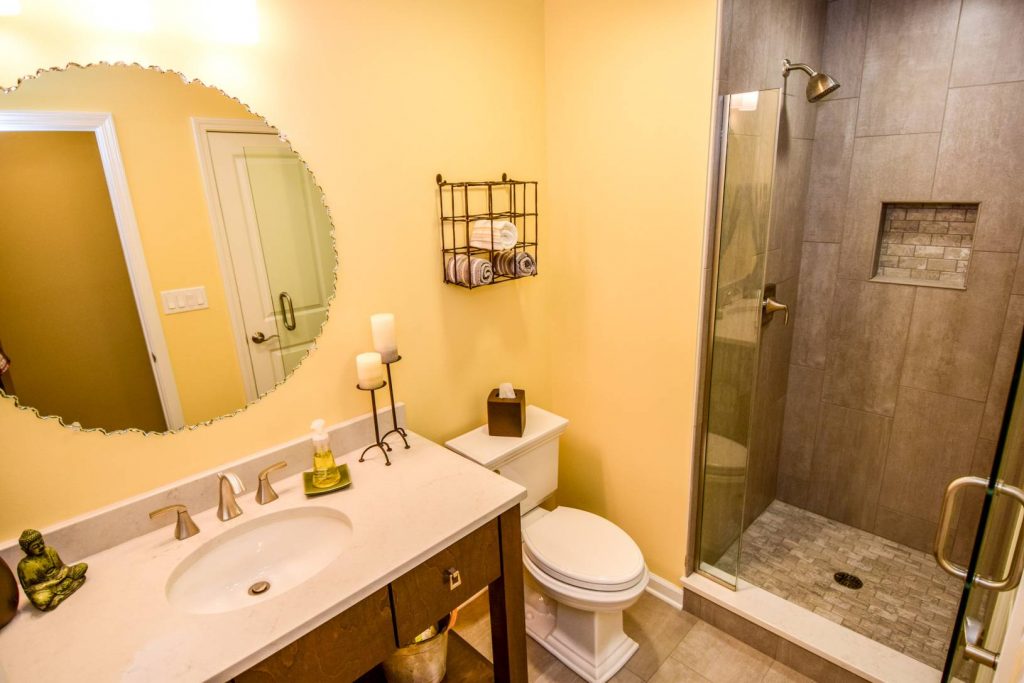
For the best results and a professional paint job, get in touch with the team at Reliable Home Improvement. We will provide you with the exact color, shade, and tone of paint you desire. Our team can also complete other home additions and renovations, including in your kitchen, bathroom, basement, or anywhere else in your home.
We have proudly served Chicagoland residents with their home improvement needs for more than 50 years and look forward to working with your family.
Contact us today for more information about our services or to get started on your next home improvement project.